3.3 KiB
How to catch outgoing emails locally (for email workflows)
Note: This is an optional step - Only required when working with email workflows
Introduction
Some of the email workflows, like updating a user's email, requires the back-end api-server to send out emails. While developing you can use a tool to catch these emails locally, instead of having to use an email provider and send an actual email. MailHog is one such email testing tool for developers, that will catch the emails your local freeCodeCamp instance is sending.
Installing MailHog
How you install and run MailHog is dependent upon your OS
Installing MailHog on macOS
Here is how to set up MailHog on macOS with Homebrew:
brew install mailhog
brew services start mailhog
This will start a mailhog service in the background.
Next, you can go to using MailHog.
Installing MailHog on Windows
Download the latest MailHog version from MailHog's official repository. Click on the link for your Windows version (32 or 64 bit) and .exe file will be downloaded to your computer.
Once it finishes downloading, click on the file. You will probably get a Windows firewall notification where you will have to allow access to MailHog. Once you do, a standard Windows command line prompt will open with MailHog already running.
To close MailHog, close the command prompt. To run it again, click on the same .exe file. You don't need to download a new one.
Next, you can go to using MailHog.
Installing MailHog on Linux
First install Go.
For Debian-based systems like Ubuntu and Linux Mint, run:
sudo apt-get install golang
For CentOS, Fedora, Red Hat Linux, and other RPM-based systems, run:
sudo dnf install golang
Or:
sudo yum install golang
Set the path for Go:
echo "export GOPATH=$HOME/go" >> ~/.profile
echo 'export PATH=$PATH:/usr/local/go/bin:$GOPATH/bin' >> ~/.profile
source ~/.profile
Then install and run MailHog:
go get github.com/mailhog/MailHog
sudo cp /home/$(whoami)/go/bin/MailHog /usr/local/bin/mailhog
mailhog
Next, you can go to using MailHog.
Using MailHog
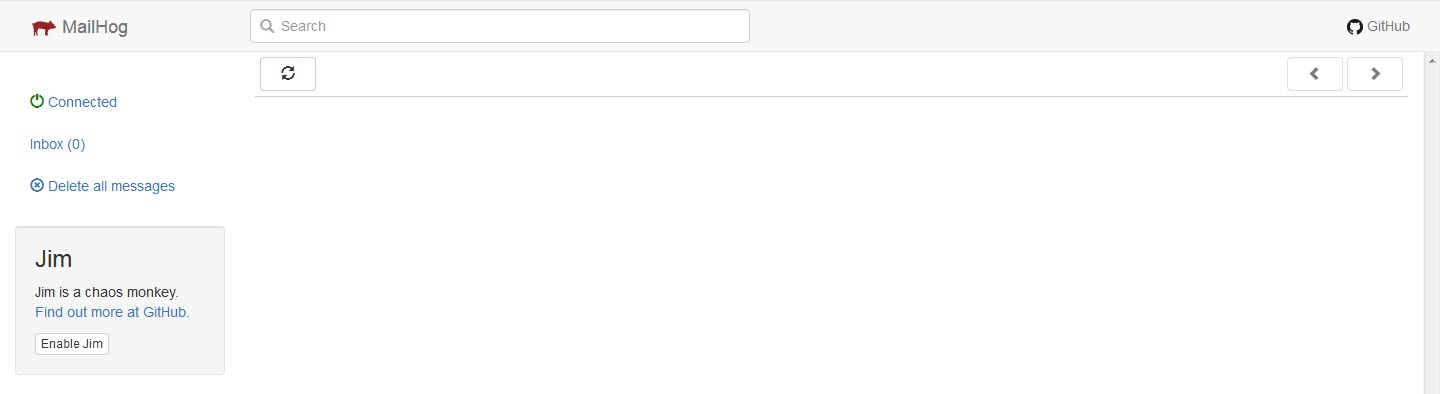
Once you have installed MailHog and started it running you need to open your MailHog inbox in your browser, open a new tab or window and navigate to http://localhost:8025. You should now see a screen like below:
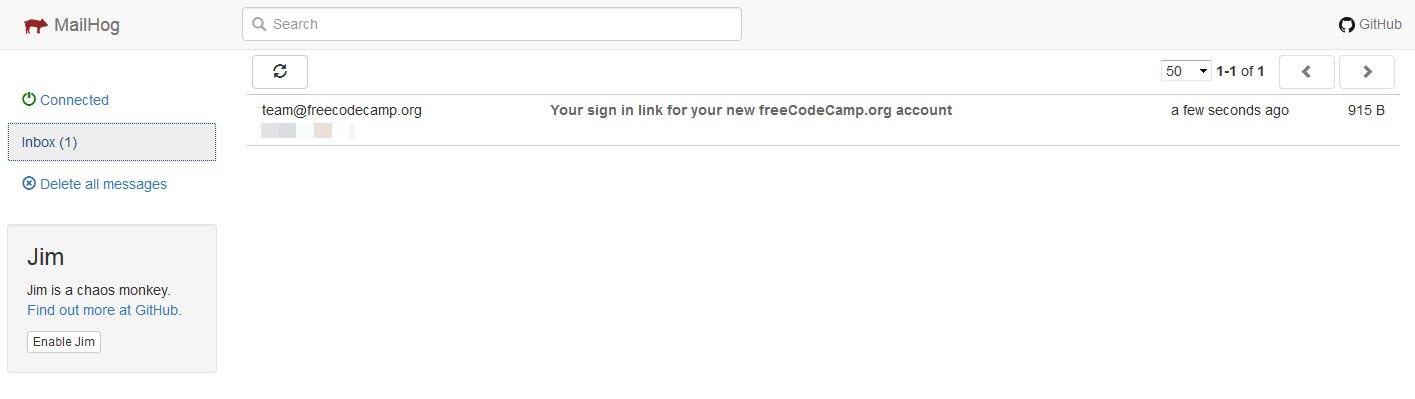
When your freeCodeCamp installation sends an email you will see it appear here. Like below:
Open the mail and you should see two tabs where you can view the content - plain text and source. Make sure you are on the plain text tab.
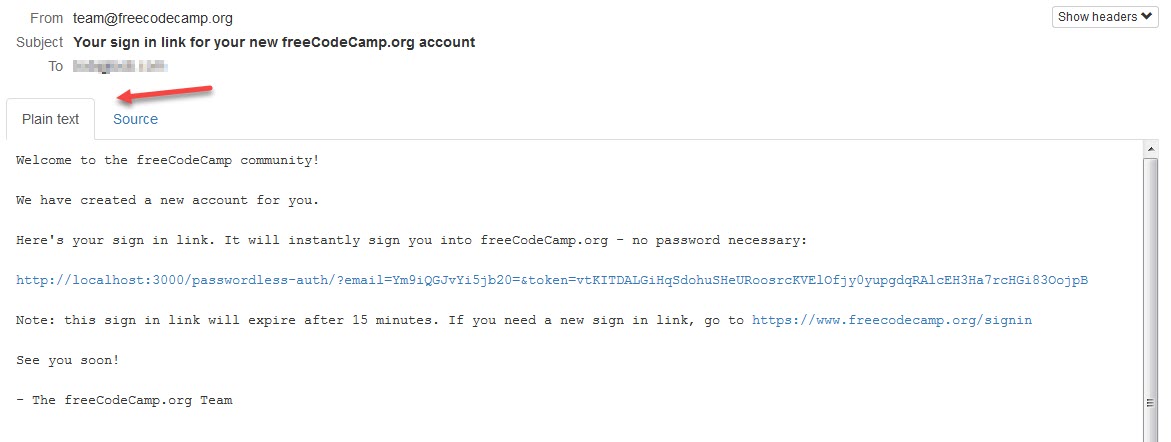
Any links in the email should be clickable.
Useful Links
- For any other questions related to MailHog or for instructions on custom configurations, check out the MailHog repository.